此篇記錄卡牌配對遊戲製作過程,用來提醒自己的技術筆記
實作練習作品
第一張牌
使用flex佈局來完成第一張牌,一共四排一排13張牌,透過flex來指定每張牌佔位比例,
1 | #cards { |
flex 縮寫的表定順序是 flex-grow → flex-shrink → flex-basis,不過因為 flex 是高容錯的設計,而這裡指定 7% 和 flex-shink & flex-grow 預期吃到的參數格式不一樣,因此自動當成了 flex-basis 的值。
flex-grow:分配剩餘空間
設定 0 的意思是不要分配剩餘空間。
如果是 1 或 1 以上的數字,這個元素會佔用剩餘的空間,並且根據設定的數字大小來彈性調整分配方式。
flex-grow: 1 代表平分,若是 flex-grow: 2 代表中間佔用的空間會是右邊的兩倍,還有更多可以查官方文件。
flex-shrink:空間不足如何收縮
如果視窗變小,flex item 就需要收縮,減少自己所佔的空間,而 flex-shrink。這裡我們設定 1,我們想讓元素等比例收縮;如果設定比 1 更高的數字,代表我們要深入控制每個元素的收縮比例。
flex-basis:分配寬度
flex-basis 可以控制 item 在容器裡佔的寬度,在這裡我們使用百分比,就是以容器的寬度為 100%。
由於我們希望 52 張牌能以 4*13 排列,每一橫列要有 13 張卡片,100 / 13 = 7.7,這裡暫時抓 7% 的比例,剩餘一點空隙就當成 margin。
卡片高度:與寬度等比例縮放
由於卡片的寬度根據容器寬度變化,卡片高度也需要等比例變化,容器寬度的預設值為視窗大小,所以這裡我們把卡片高度設定為 8vw,代表視窗大小的 8%。這樣就寬高就能等比例的變化。
使用:last-child 及 transform來倒轉數字
1 | .card p:last-child { |
當物件的屬性與函式/變數名稱相同時,可以省略不寫:
1 | // 原本的寫法 |
由於我們會把 view 以及之後的 model 和 controller 當成模組來使用,目的是創造出一個命名空間 (namespace),把相關的變數和函式都分類進去,因此屬性名稱和函式名稱基本上都會是同名的,不會特地取新的名字,所以之後我們都會省略屬性名稱不寫,看起來會比較簡潔。
透過switch來轉換數字成為J, Q, K
由於狀況有 4 種,在這裡用 switch 會比 if/else 清楚,若是 1、11、12、13 的狀況,則分別回傳 A、J、Q、K,如果數字是 2-10,則把數字原封不動地回傳。
1 | transformNumber (number) { |
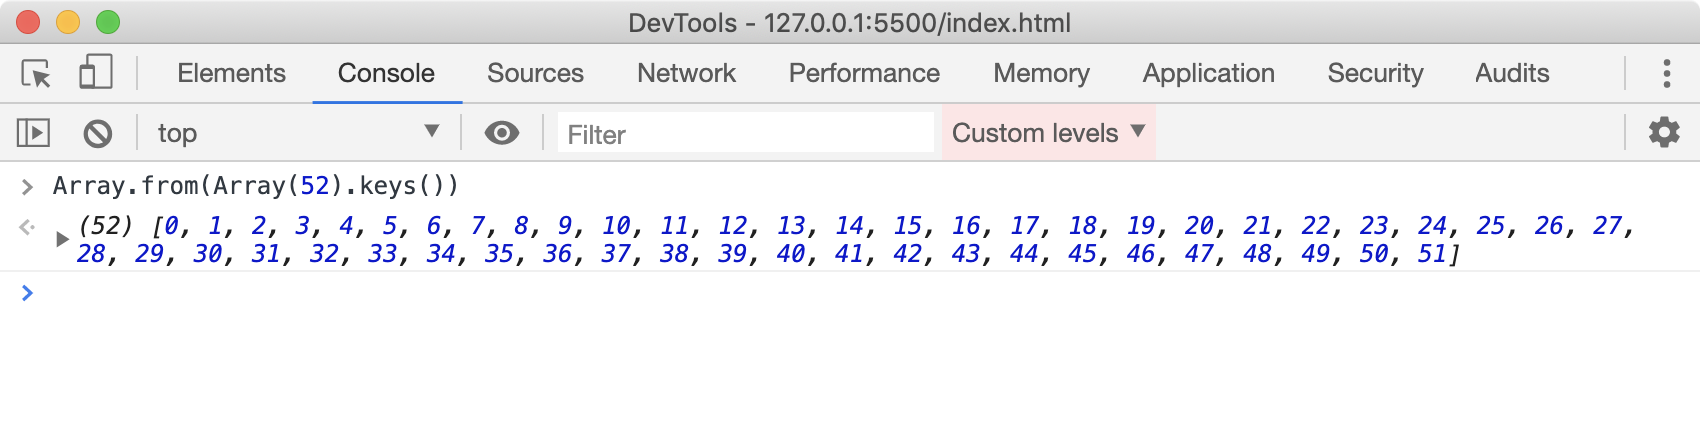
使用Array.from(Array(52).key()),來生成連續數字陣列
Array.from 可以從「類似陣列」的物件來建立陣列
Array(52),它會產生一個有 52 個元素的空陣列:
Array(52).keys()會變成一個迭代器,需要使用類似for迴圈之類的迭代,才有辦法生成。
ES6 推出了 Array.from() 之後,就可以搭配迭代器來生成陣列:
產生 52 個 DOM 元素並拼裝 template
有了連續數字陣列以後
1 | displayCards() { |
- 用 map 迭代陣列,並依序將數字丟進 view.getCardElement(),會變成有 52 張卡片的陣列;
- 接著要用 join(“”) 把陣列合併成一個大字串,才能當成 HTML template 來使用;
- 把組合好的 template 用 innerHTML 放進 #cards 元素裡。
洗牌演算法:Fisher-Yates Shuffle
先看一下 JavaScript 的實作版本 getRandomNumberArray,參數 count 表示陣列的長度,count 會傳入 52。
1 | getRandomNumberArray(count) { |
- 生成連續數字陣列
const number = Array.from(Array(count).keys()) - 生成一個長度為 count 的連續數字陣列。這個之前介紹過了。
我們先假設 count 是 7,那麼 number 就是 [0, 1, 2, 3, 4, 5, 6]。
選定想交換的位置
let index = number.length - 1 取出最後一項。
let randomIndex = Math.floor(Math.random() * (index + 1)),找到一個隨機項目。
- 交換陣列元素
[number[index], number[randomIndex]] = [number[randomIndex], number[index]]
這段是運用了 ES6 的解構賦值語法,意思是讓 number[randomIndex] 和 number[index] 交換,等同於:
temp = number[index]
number[index] = number[randomIndex]
number[randomIndex] = temp
此時我們的 index 是 6,如果假設 randomIndex 是 2,那麼 number 就會變成:[0, 1, 6, 3, 4, 5, 2]
- 解構賦值
以前要為變數賦值,只能一個個慢慢寫:1
2
3let a = 1
let b = 2
let c = 3
有了 ES6 比較厲害的解構賦值 (destructuring assignment) 之後,
1 | let [a, b, c] = [1, 2, 3] |
只要等號兩邊的模式相同 (例如都是 [] 或都是 {}),左邊的變數就會被賦予右邊的對應值。
不可省略的分號
注意在程式碼裡有一個分號 ;,他不是寫錯的。
在 JavaScript 的分號代表「這個執行語句結束了」,大部分的分號都是可以省略的,這裡剛好是不可以省略的。
因為前面呼叫了 Math.floor() 這個函式庫,如果沒有加上分號,會和後面的 [] 連起來,被解讀成 Math.floor()[],雖然沒有實際的意義,但因為瀏覽器對 JavaScript 的語法解析很寬鬆,這裡會發生錯誤,所以需要加上分號變成 Math.floor();[] 來把執行語句隔開。
設定遊戲狀態
1 | const GAME_STATE = { |
使用switch來控制遊戲狀態
1 | dispatchCardAction (card) { |
展開運算子及其餘參數
展開運算子
1 | const numbers = [5, 6, 8, 9, 11, 999]; |
其餘參數
「把值蒐集起來變成陣列」的情況,在下例中,不確定會傳給sum 函式幾個參數,但總之我們想要在 sum 函式裡使用陣列處理方法,這時候也可以用 … 把參數轉變成一個陣列來迭代:
1 | function sum(...numbers) { |
改寫flipCard,function帶入其餘參數
flipCard改寫為可以傳入1個或是2個參數
1 | flipCards (...cards) { |
改寫pairCard,function帶入其餘參數
1 | pairCards(...cards) { |
CSS動畫特效
在 CSS3 有提供一套 CSS animations 的現成動畫工具,需要透過關鍵影格 @keyframes 來設定動畫的漸變流程
1 | .wrong { |
用 @keyframes 指定了一個叫 wrongAnimation 的動畫流程,在 keyframes 裡可以用 from 和 to 來指定動畫漸變起點/終點,使用 to 來指定「當動畫發生時,該元素要逐漸加上黃色邊框」。
設定好 keyframes 之後,要呼叫它。呼叫的位置在 .wrong 類別裡,在呼叫動畫時我們一併指定了:
animation-duration: 0.2s - 動畫要持續 0.2 秒,也就是「逐漸加入黃色邊框」的效果要用 0.2 秒來跑完。
animation-iteration-count: 5 - 動畫要重覆 5 次
整合動畫進JS
回到 JavaScript 來整合,我們先加入一個函式 view.appendWrongAnimation:
1 | // view |
這個函式裡會為卡片加入 .wrong 類別,一旦加入就會開始跑動畫。另外我們用事件監聽器來綁定**動畫結束事件 (animationend)**,一旦動畫跑完一輪,就把 .wrong 這個 class 拿掉。
最後的 {once: true} 是要求在事件執行一次之後,就要卸載這個監聽器。因為同一張卡片可能會被點錯好幾次,每一次都需要動態地掛上一個新的監聽器,並且用完就要卸載。
最後到 controller.dispatchCardAction 中,在配對失敗的流程中呼叫 view,注意這一行要加在 setTimeout 之前 :
1 | // 判斷配對是否成功 |